Quick Tip: Easy Animated GIFs
Confession time: Despite using 3+ animated GIFs per day (conservative estimate), I’d never actually made one. Well, not in the last 10 yrs+ at any rate. I made a few back when I was studying animation and it was such a tedious, time-consuming process I never went back to it. Recently I started working with a small indie game project with an absolutely stunning aesthetic. They had a fantastic trailer and screenshots, but no GIFs. I rolled up my sleeves, ready to tackle the challenge. I expected blood, sweat, and pixel tears.
…I made my first one in less than 10 minutes. As it turns out, making animated GIFs is now a hell of a lot easier than back in the early days of Flash. Go figure, eh?
So without further ado, here’s how to make GIFs, the quick n’ easy way!
Getting Your Animated GIF on!
What You’ll Need
- An existing movie file
- Windows Movie Maker
- Access to Giphy GIF Maker
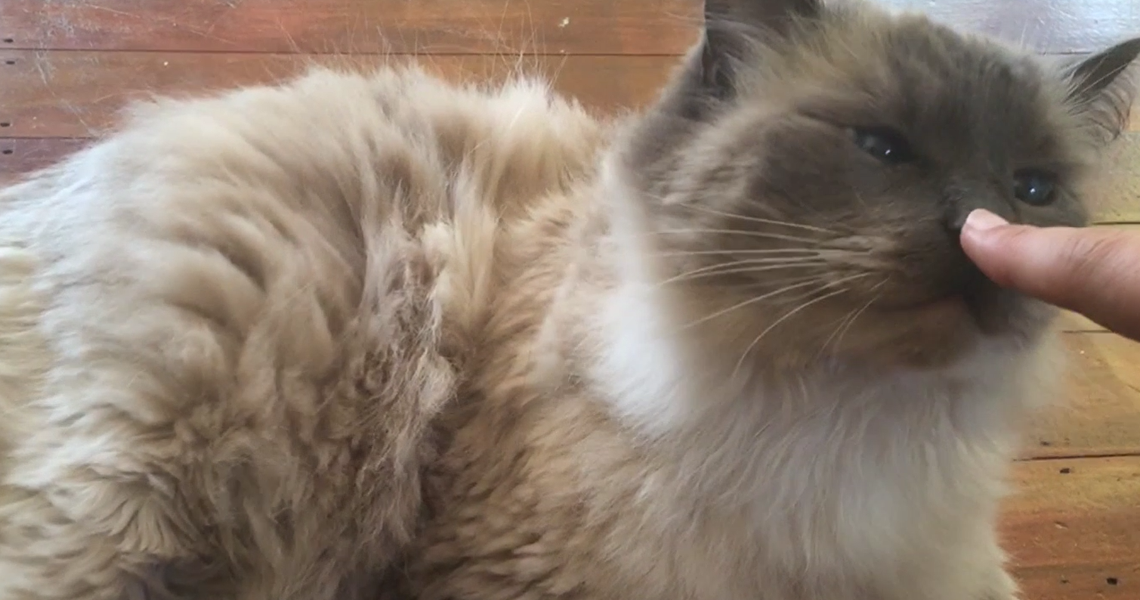
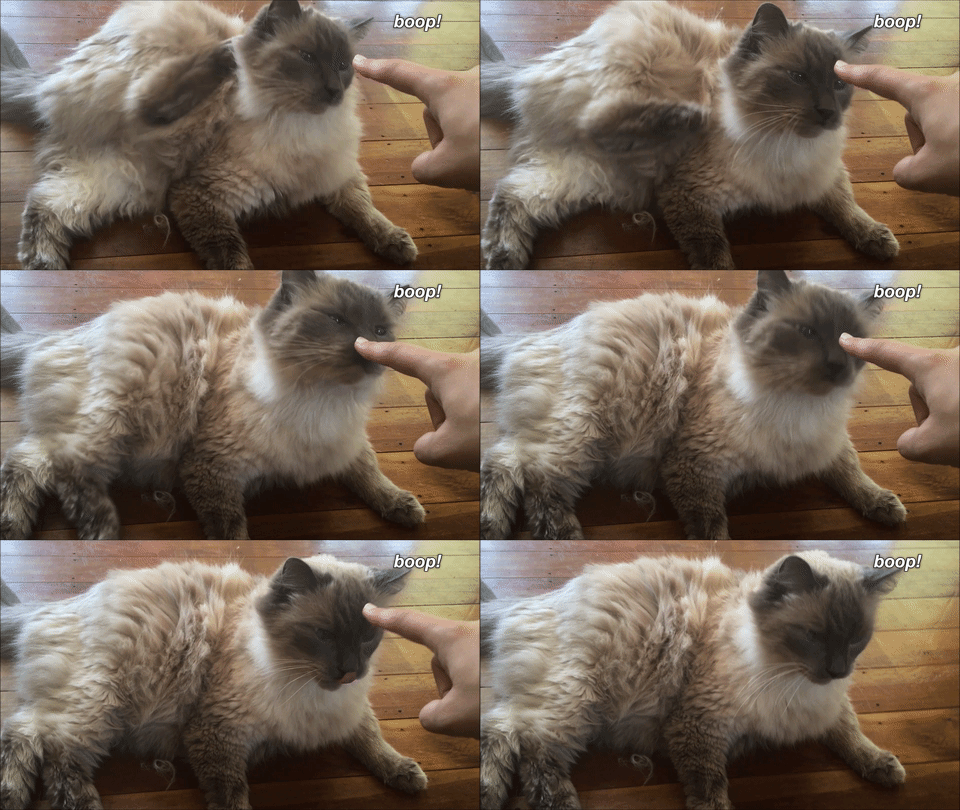
If you want a video file to practice with, please feel free to use this one of the Boop Cat (Harley), in all of his disheveled glory: Harley_Boop (20MB .mov file – Right click, Save As)
Once you have the .mov file downloaded, locate it and right-click -> Open with -> Movie Maker.
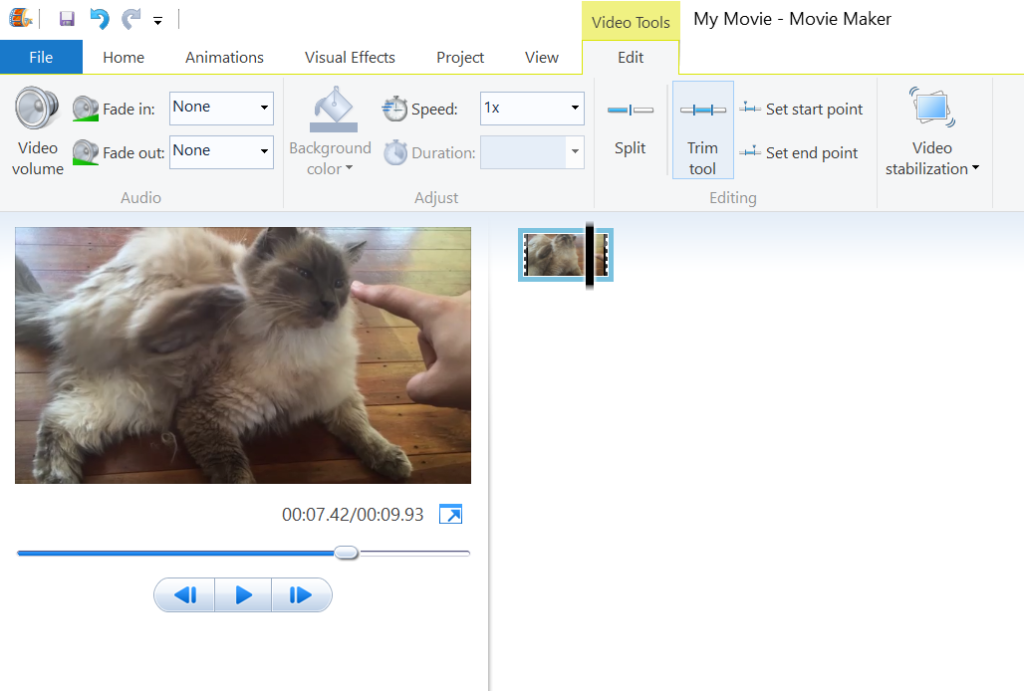
If all goes according to plan, you should see something like this:
Now, this movie is around 9 seconds long, which would make for one GIANT animated GIF. You really only want a few seconds total, so you’ll want to trim the movie clip before importing it into Giphy. In this case, the sweet spot for the clip comes right near the end, starting at around the 00:07.40 mark. You’ll want to trim the movie to just the portion you want as an animated GIF.
To do this, go to Edit -> Trim Tool:
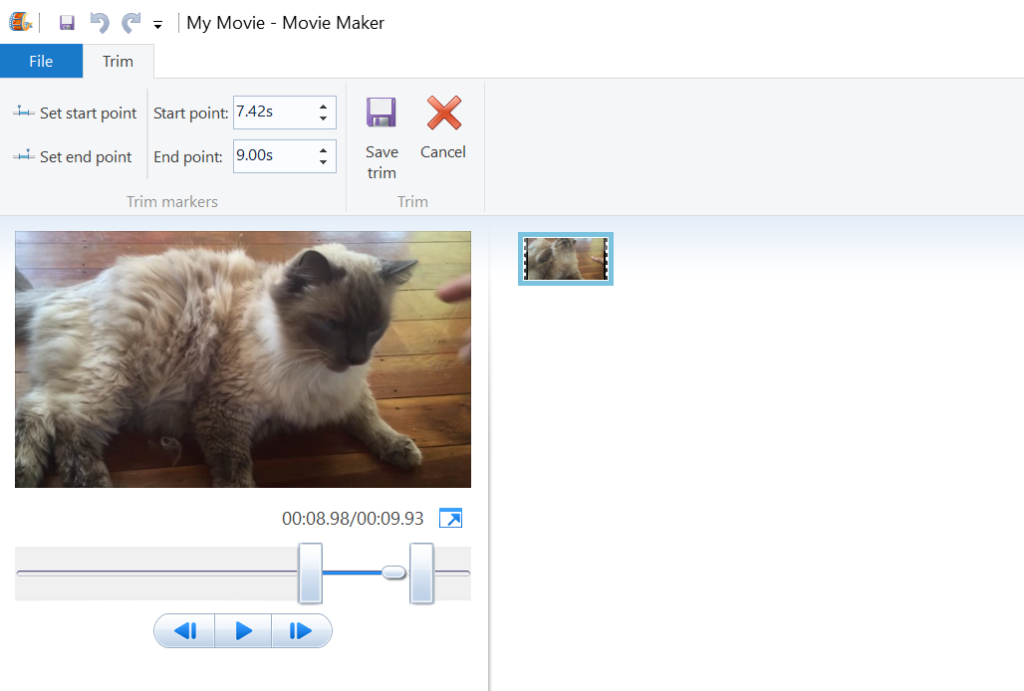
You can now enter in a start and end point for the clip. In this case, we already know we want the clip to start at around the 00:07:42 mark and end around the 00:09:00 mark. So just enter those values into the relevant fields:
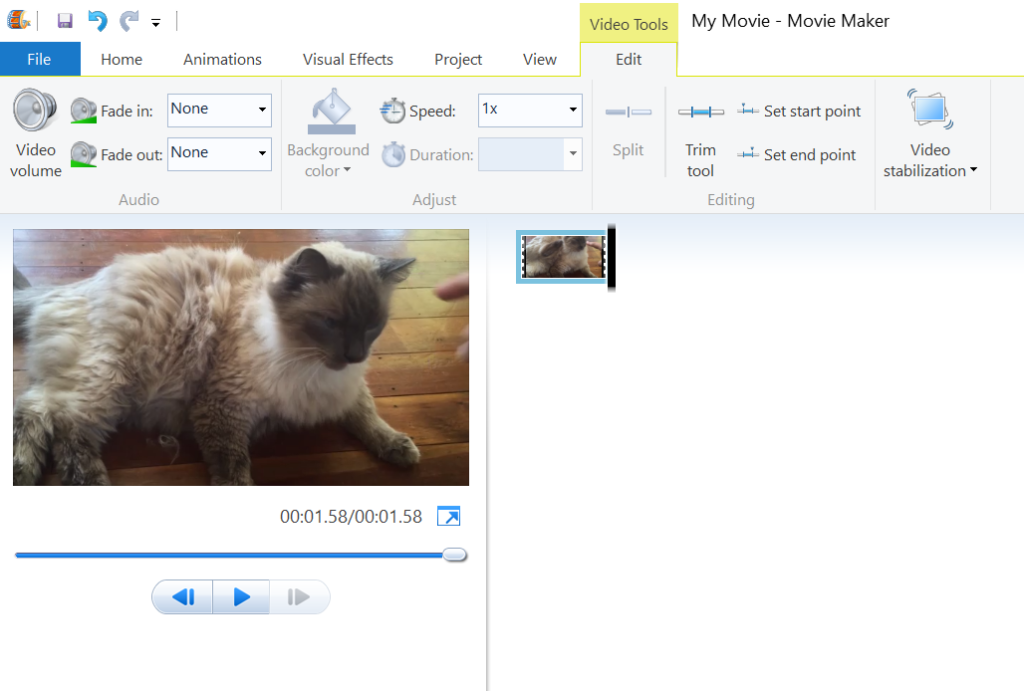
Click the play button below the video clip to review your trimmed clip. When you’re happy with what you’ve created, click ‘Save Trim’. This will trim the entire video down into the portion you’ve selected. We now have a video clip that’s less than 2 seconds long. Success!
From here, click File -> Save movie and choose your settings. I tend to go with Recommended, but it’s really up to your discretion. Once you’ve saved your movie clip and verified it’s in working order, head on over to to Giphy GIF Maker…
If you have a Giphy account, make sure to log in or create one if you want to easily access your GIF again in the future.
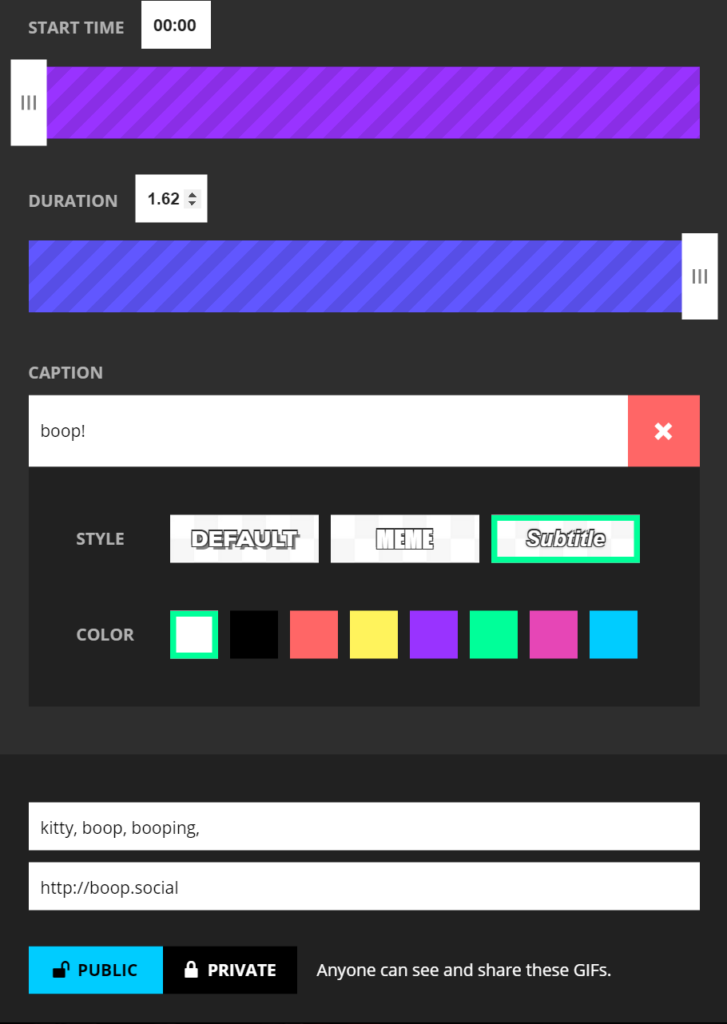
Once you’ve got that sorted, just drag & drop or browse for the clip you created earlier. Giphy will import the video file, and give you a few options for the resulting animated GIF:
You can tweak the time, add a caption, source, and relevant tags. Note: You’ll also want to decide if the animated GIF is available for the public. In general I tend to leave this set to Public unless it’s a personal GIF. The more people who want to experience the joy that is the self-booping cat, the better in my opinion!
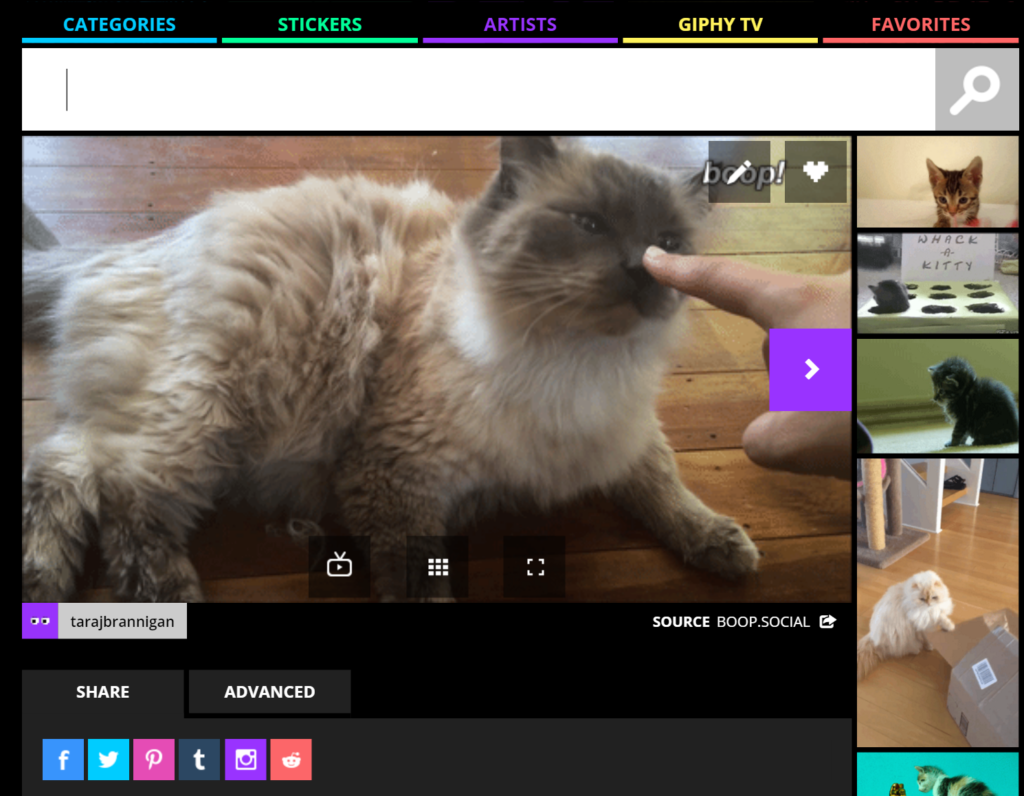
Make sure you agree with the Terms of Service before uploading, and if you’re cool with ’em, click the big blue Create GIF button to make your GIF. This may take a few minutes, depending on the length of your GIF. Once it’s done processing, you should see your final GIF and sharing options!
From there, you can save your GIF locally, share to social platforms, etc!
Is nifty, no?
Support Me
Appreciate my mad cat GIF skills and want to see more sweet animated boop action in the future? Consider supporting me on Patreon!
Already supporting me? Well then, you are THE BEST. Yes, you!

